
1. Getting Started with Hestia Control Panel
Getting Started with Hestia Control Panel
Category: Getting Started Platform: Hestia Control Panel Audience: NetrillerHost Shared Hosting Customers Estimated Reading Time: 5 minutes
How to access HestiaCP, log in, understand the dashboard, and navigate the main features.
Introduction
Welcome to NetrillerHost! This guide will help you get started with Hestia Control Panel (HestiaCP), a web hosting management platform that allows you to manage your websites, domains, email accounts, databases, and other hosting features from one convenient dashboard.
Whether you are launching your first website or managing an existing project, HestiaCP provides the tools you need to manage your hosting account.
1. How to Access Hestia Control Panel
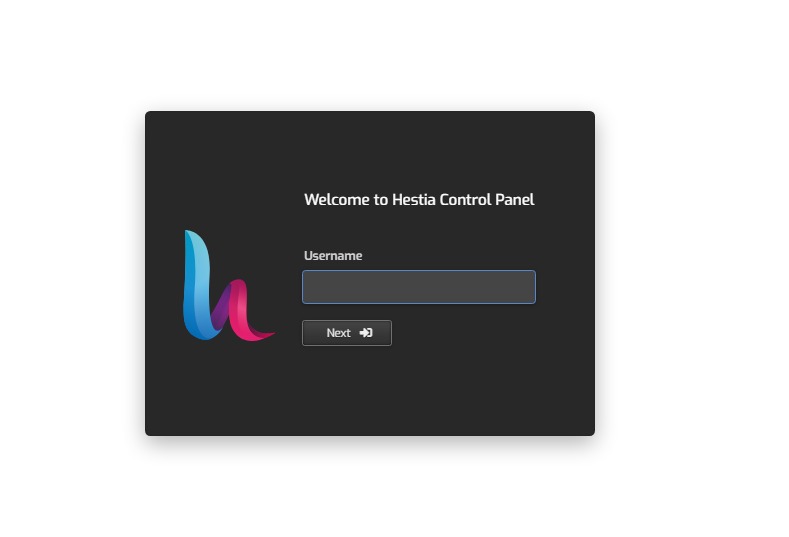
Follow these steps to log in to your hosting control panel.
- Open your preferred web browser, such as Chrome, Firefox, or Microsoft Edge.
- Visit the HestiaCP login URL provided in your NetrillerHost hosting welcome email.
- Enter your hosting control panel username and password.
- Click Log In to access your dashboard.
Important: Your HestiaCP login details may differ from your NetrillerHost client area login details. Use the credentials provided for your hosting account.
If you cannot log in, verify that your username and password are correct. If the issue persists, contact NetrillerHost Support for assistance.
2. Understanding the HestiaCP Dashboard
After logging in, you will see the HestiaCP dashboard. Depending on your hosting package and account permissions, you may have access to the following features.
- WEB: Add and manage your websites and domain names.
- DNS: Manage DNS records if DNS management is enabled for your account.
- MAIL: Create and manage email accounts associated with your domain.
- DB: Create and manage databases for applications such as WordPress.
- CRON: Schedule automated tasks for supported scripts and applications.
- BACKUPS: Access available hosting backups and restore options.
- USER: View or manage account settings and other available user options.
Some features may be unavailable or restricted depending on your hosting plan.
3. How to Add Your Website Domain
To host a website, you first need to add your domain to your hosting account.
- Log in to HestiaCP.
- Open the WEB section.
- Click Add Web Domain.
- Enter your domain name, such as
example.com. - Review the available options and enable any required features.
- Click Save.
Replace example.com with your actual domain name.
Configure your domain's DNS
For your website to load correctly, your domain must point to the server hosting your account.
If your domain uses external DNS management, such as Cloudflare, configure the required DNS records with your DNS provider. If your domain uses NetrillerHost nameservers, follow the DNS instructions supplied with your hosting service.
DNS changes may take time to propagate. Also ensure that your domain points to the correct hosting server before testing your website.
4. How to Upload Your Website Files
After adding your domain, you can upload your website files.
Your website's document root is usually located at:
/home/USERNAME/web/example.com/public_html/
Here, USERNAME is your HestiaCP account username. The exact path may vary depending on your configuration.
You can upload your files using an available file manager or an FTP/SFTP client, depending on the access methods enabled for your account.
Follow these steps:
- Connect using your configured file transfer credentials, or open your available file manager.
- Navigate to the document root for your domain.
- Upload your website files and folders.
- Ensure your homepage file, such as
index.phporindex.html, is in the correct directory. - Visit your domain in a browser to test the website.
Important: Do not upload your website files to the wrong directory. Files placed outside the domain's document root may not appear on your website.
5. How to Enable Free SSL
An SSL certificate helps secure communication between your website and its visitors by enabling HTTPS.
If your hosting account supports Let's Encrypt SSL certificates, you can usually enable one from HestiaCP.
- Open the WEB section.
- Locate your domain.
- Edit the domain's settings.
- Enable SSL Support.
- Enable the Let's Encrypt option if it is available.
- Save the changes and allow the certificate to be issued.
Your domain must resolve to the correct server, and the server must be able to validate the domain before a certificate can be issued.
Once SSL is active, visit your website using https://example.com.
If the certificate fails to issue, check your domain's DNS configuration and contact support if necessary.
6. How to Create a Database
Many websites and applications, including WordPress, require a database.
To create one:
- Open the DB section in HestiaCP.
- Click Add Database.
- Enter a database name.
- Create a database username and a strong password.
- Select the appropriate database type if prompted.
- Save the configuration.
Keep your database name, username, password, and database host secure. You will need these details when configuring your website or application.
Use the database host shown in your hosting instructions or control panel.
7. How to Create a Business Email Account
If email hosting is included in your package, you can create an email address using your domain, such as info@example.com.
- Open the MAIL section.
- Add your domain if it is not already configured for email.
- Select the option to add an email account.
- Enter the mailbox name and create a strong password.
- Save your settings.
You can then access your mailbox through the webmail service configured for your hosting server or through a compatible email application.
Make sure your domain's MX and other required mail DNS records are configured correctly.
8. How to Back Up Your Website
Regular backups help protect your website against accidental deletion, software problems, and other unexpected issues.
If backups are available for your account:
- Open the BACKUPS section.
- Review the available backup points.
- Select the appropriate backup if you need to restore your website.
- Follow the available restoration instructions.
Before restoring a backup, understand that the process may replace current website files, databases, or other data. Download or create a fresh backup first when possible.
Backup availability and retention depend on your hosting package and the server's configuration. Do not assume that a backup exists until you have verified it.
9. Common Problems and Solutions
I cannot access HestiaCP
- Verify that you are using the correct panel URL.
- Check your username and password.
- Confirm that you are using the correct hosting server.
- Contact NetrillerHost Support if the panel remains inaccessible.
My website is not loading
- Check that your domain points to the correct server.
- Confirm that your website files are in the correct document root.
- Check whether your domain's DNS changes have propagated.
- Review any displayed error messages or contact support.
My SSL certificate is not working
- Confirm that your domain resolves to the correct server.
- Check that SSL Support is enabled.
- Verify that the domain can be validated by the certificate provider.
- Contact support if certificate issuance continues to fail.
My website displays a 500 Internal Server Error
A 500 error can result from incorrect application settings, PHP configuration problems, file permissions, or server-side errors.
- Review any recent website changes.
- Check your website's error logs if access is available.
- If the issue started after uploading files or changing PHP settings, mention this when contacting support.
Avoid changing server-level settings unless you have the required permissions and understand the consequences.
10. Need Help?
NetrillerHost is committed to helping you get the best from your hosting service.
If you need assistance with HestiaCP, domain configuration, website uploads, SSL certificates, databases, or email setup, contact our support team through the official NetrillerHost website.
When submitting a support request, include your domain name, a description of the issue, any relevant error message, and the steps you have already tried. Never include your account password in a support ticket.
Conclusion
Hestia Control Panel makes it easier to manage your website hosting from one dashboard. By following this guide, you can get started with your domain, website files, SSL certificate, database, and email services.
Explore the other tutorials in the NetrillerHost Knowledge Base for more detailed instructions on individual hosting tasks.
NetrillerHost — Reliable Hosting. Powerful Solutions.